Connecting equipment with SNMP
Enable SNMP monitoring on a device, test the connection, and turn the required OIDs into data points with Walk.
«طراحی سیستم» ← «مدیریت ساختار» ← «دستگاهها» ← «افزودن دستگاه جدید» یا ویرایش دستگاه ← زبانهٔ «پروتکلها» و زبانهٔ «SNMP» — «طراحی سیستم» ← «مدیریت ساختار» ← «دستگاهها» ← «افزودن دستگاه جدید» یا ویرایش دستگاه ← زبانهٔ «پروتکلها» و زبانهٔ «SNMP» — System Design → Structure Management → Devices → Add New Device or edit device → the Protocols tab and the SNMP tab
SNMP is the most common way to read UPSes, PDUs, switches, servers, and networked environmental sensors. In the digital twin, all SNMP configuration is done from inside the device form: connection details on the "Protocols" tab and connection/point management on the "SNMP" tab. This is the only supported path.
Get to know the page
The SNMP section on the "Protocols" tab has an on/off toggle and, once turned on, shows these fields:
| Field | Options | Default |
|---|---|---|
| نسخه (Version) | v1 / v2c / v3 | v2c |
| انجمن (Community) | Text; disabled in v3 | public |
| پورت SNMP (SNMP (SNMP Port)) | Number | 161 |
In v3, security fields appear with English labels: SNMPv3 Security Name, Authentication (NONE / SHA / MD5), Privacy (NONE / AES128 / AES192 / AES256 / DES), and two passwords, Authentication password and Privacy password.
The "SNMP" tab, before the first save, shows only the message "SNMP is created automatically once the device is saved" and the "SNMP Settings Preview" card. After saving, a "Connected SNMP Devices" heading, an افزودن SNMP (SNMP (Add SNMP)) button, and a table with the columns Name, Address, Version, Status, Poll Count, Errors, and Actions are shown. Each row's actions: تست اتصال (Test Connection), فعالسازی Polling (Polling (Enable Polling)) / غیرفعالسازی Polling (Polling (Disable Polling)), and SNMP Walk.
Step by step
- Turn on SNMP in the form. In the device form, go to the پروتکلها (Protocols) tab and turn on the SNMP section's toggle. Choose the نسخه to match the equipment's network card setting, replace انجمن with the equipment's read-only community string (do not use the public default in a production environment), and adjust پورت SNMP if it differs. The equipment's network address is the same one you entered on the "Connection Settings" tab.
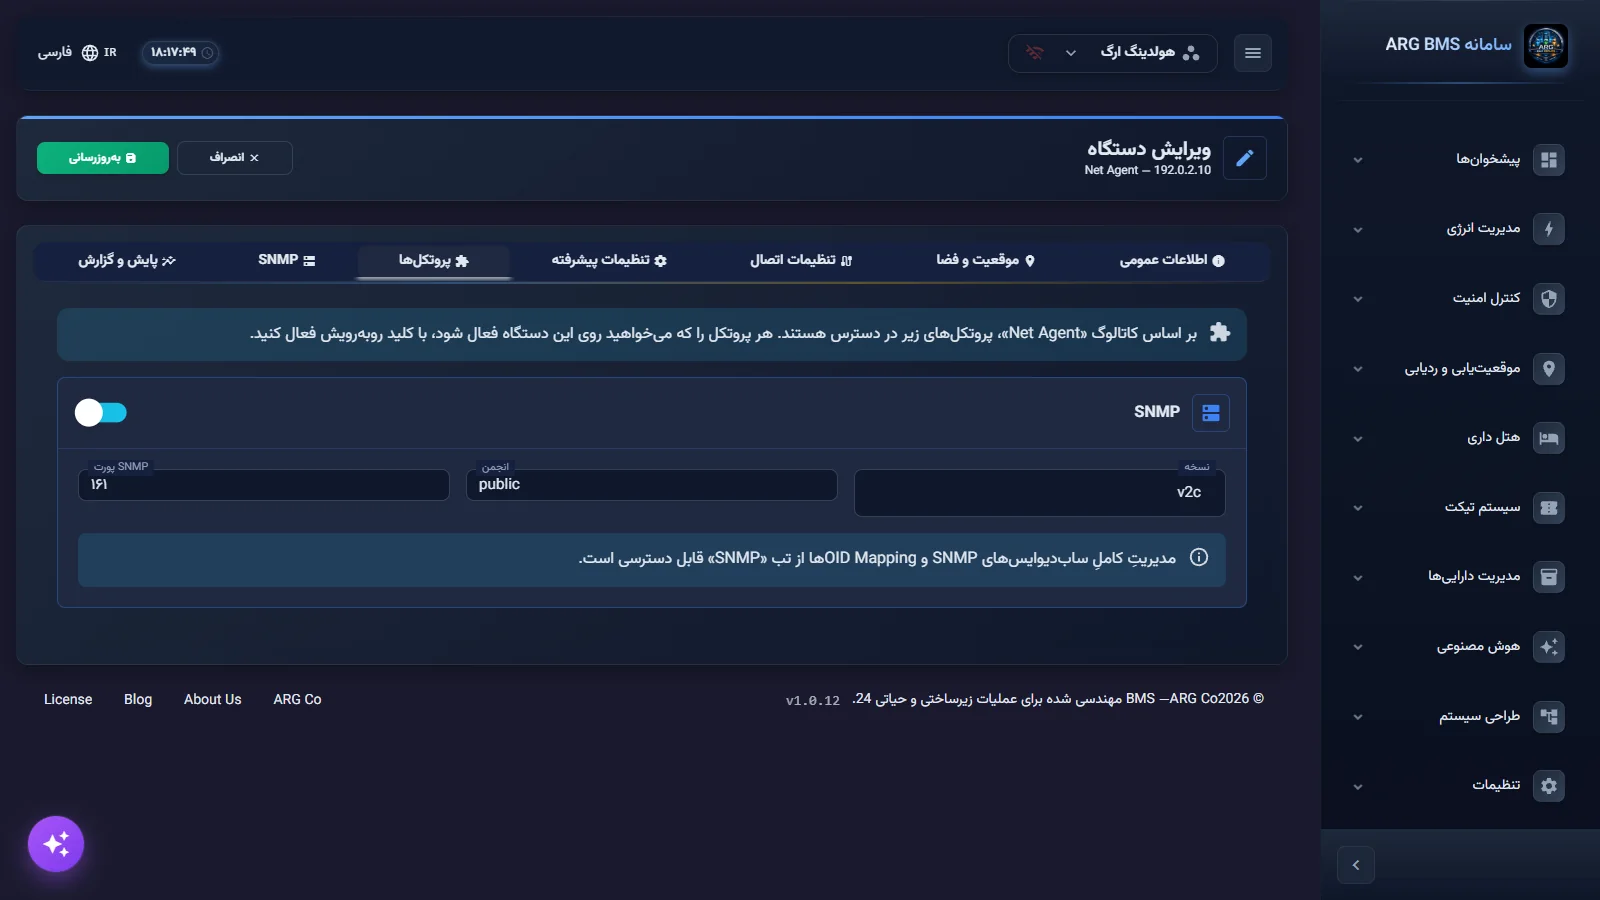
SNMP section · The version, community, and SNMP-port fields, and a reminder that OID mapping is managed from the SNMP tab - For v3, enter the security details. If the equipment only accepts v3, leave the version as v3; the community field becomes disabled. Enter the security name, the authentication and encryption algorithms, and the two passwords. Take the note next to these fields seriously: "Version 3 security details are sent for setup only and are not stored in the device's general settings. Re-enter them each time you edit."
- Save. Click ذخیره (Save). If the model was selected from the catalog, SNMP monitoring and the profile's points are built automatically after saving, and you can skip straight to step 5. Before saving, the SNMP tab shows only a help message: for a catalog model, "SNMP is created automatically once the device is saved," and for a model without SNMP, "This model does not support SNMP. After saving, you can add SNMP manually."
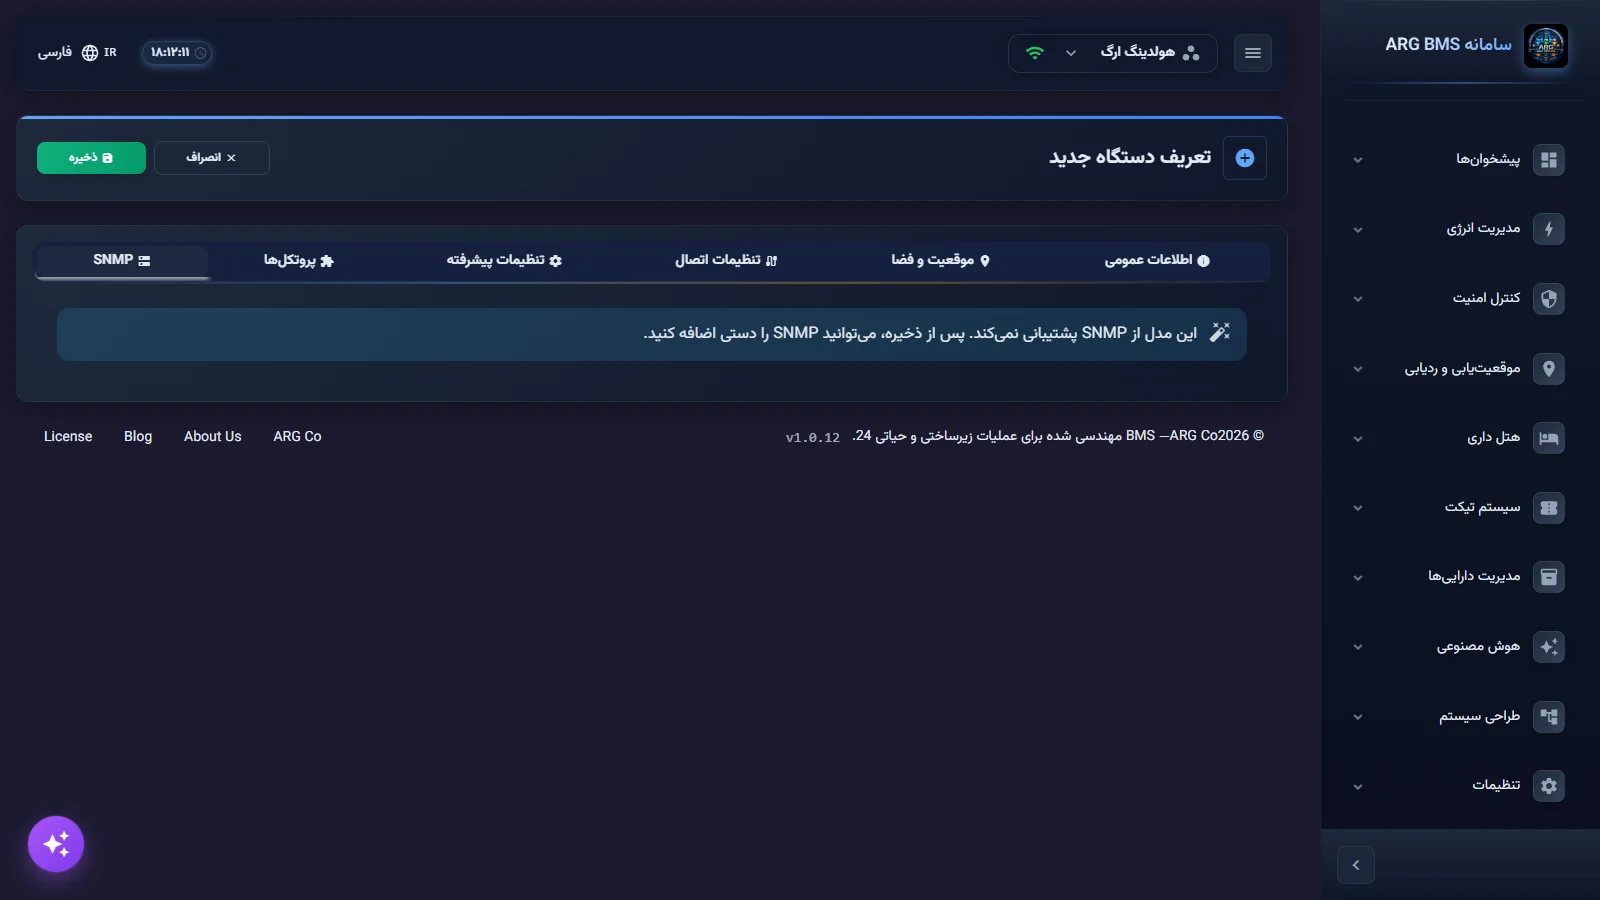
SNMP tab before saving · The help message shown before the first save - For a custom device, build the SNMP connection. Open the device from the list for editing and, on the SNMP tab, click افزودن SNMP. In the "Add SNMP Device" window, fill in نام (Name) (e.g., "PDU-SERVER-001"), آدرس IP (IP (IP Address)), پورت (Port) (161), نسخه SNMP (SNMP (SNMP Version)), and رشته Community (Community (Community String)), then click ایجاد (Create). This button is disabled until the name and address are filled in. This window has no v3 fields; for v3, use the SNMP section on the "Protocols" tab.
- Test the connection. On the SNMP connection row, click تست اتصال. If there is no response, check the address, port, community, and network access (the equipment's SNMP card firewall and allow-list).
- Turn OIDs into points. Click SNMP Walk. OID شروع (OID (Start OID)) defaults to
1.3.6.1.2.1; for vendor-specific branches, enter that vendor's branch OID. Run the walk; the result is shown as "N OIDs found — M selected". Check the OIDs you need and click وارد کردن (N) ((N) (Import (N))). - Review the mappings. Click the connection row to open the read-only "OID Mappings" table with the columns Name, OID, ENID, Current Value, and Unit. Compare the current value against the equipment's own display.
Which OIDs to import
For a typical UPS, these groups are usually enough: input and output voltage and current, load percentage, battery charge percentage, remaining runtime, battery temperature, on-battery status, and bypass status. For a PDU: current and power per circuit and the status of each outlet. For a switch or router: each port's status, traffic, device temperature, and uptime. For an environmental sensor: temperature, humidity, and dry-contact inputs. Every OID you import creates a data point that is read and stored forever; so a deliberate selection controls both network load and history volume. Before a bulk import, get the list of points the dashboards and reports actually need from the customer.
9004, and the numeric value is computed as "raw value × factor + offset".Tips and common mistakes
- In v3, the community field is disabled and security details are not stored; they must be re-entered on every device edit, otherwise setup runs again without them.
- The "OID Mappings" table is read-only. A new OID is added only through SNMP Walk and وارد کردن (Import).
- A walk over the whole
1.3.6.1tree can return hundreds of OIDs; import only the points actually used in a dashboard, alert, or report. - If Poll Count is not increasing and Errors keeps growing, first test the network path with تست اتصال and the protocol tester (lesson B7).
Summary
- SNMP is turned on in the "Protocols" tab and managed in the "SNMP" tab.
- Defaults: v2c, community public, port 161.
- Points are built with SNMP Walk and "Import"; their ENID base is 9004.
- v3 security details are not stored and must be re-entered on every edit.
Hands-on exercise on the live demo
On the public demo, do not change existing settings and do not save anything.
- In دستگاهها (Devices), open a device with the SNMP protocol for editing.
- On the پروتکلها tab, note the SNMP version and port.
- On the SNMP tab, click the connection row and write down the ENID and Current Value for three OIDs. Show that digits 5 through 8 of each ENID equal 9004.
- Exit the form with انصراف (Cancel).
Lesson check
Answer at least 3 of 4 correctly to pass.
- 1. What is the default SNMP port in the device form?
- 2. In which version is the "Community" field disabled?
- 3. What are digits 5 through 8 of the ENID of a mapped SNMP OID?
- 4. How is a new OID turned into a data point?