Installation and Deployment
Install the digital twin server (backend, database, and web app) on Windows with IIS, Linux, or Docker, place the license file correctly, and prepare the first project, key, and administrator account.
بیرون از رابط وب (بستهٔ نصب و فایل تنظیمات)؛ سپس کنسول مدیریت سرور: «System Design» ← «Projects» و «Users» — بیرون از رابط وب (بستهٔ نصب و فایل تنظیمات)؛ سپس کنسول مدیریت سرور: «System Design» ← «Projects» و «Users» — بیرون از رابط وب (بستهٔ نصب و فایل تنظیمات)؛ سپس کنسول مدیریت سرور: «System Design» ← «Projects» و «Users» — Outside the web app (the install package and settings file); then the server management console: System Design → Projects and Users
Deploying the digital twin has three parts: the server (backend), a PostgreSQL database, and the web app, which sits behind a web gateway (for example, IIS). Most of this lesson happens outside the interface; after installation, you use the server console to create the project, the key, and the administrator account.
Prerequisites
| Component | Requirement |
|---|---|
| Java | Version 17 or newer (the Windows package suggests version 21) |
| Database | PostgreSQL version 14 or newer; an empty database is enough, and the server creates the tables itself on first run |
| License | An argbms.license file issued by ARG |
| Windows / IIS | IIS 10, the URL Rewrite module, the Application Request Routing module with "Enable proxy", the WebSocket Protocol feature in IIS, and preferably NSSM to run the service |
Step by step: Windows with IIS (the recommended method)
- Prepare. Open PowerShell as Administrator; if script execution is blocked, run
Set-ExecutionPolicy -Scope Process Bypassfor that session only. Create an empty database in PostgreSQL. The package's scripts first verify file integrity against a hash list before doing anything else. - Install the server. In the package's
backendfolder, run theInstall-Backendscript with the install folder (-InstallDir), the database password (-DbPassword), the site's public address exactly as the user types it in the browser (-PublicOrigin, withhttps://), and the NSSM path (-NssmPath). The script generates the production settings file from a template, sets the session cookie to secure if the address starts with https, copies the license file if it is missing, and creates a Windows service with automatic startup. - Install the web app. In the
frontendfolder, run theInstall-Frontendscript with the site name, site path, host name, port, and the-EnableArrProxyoption. If the server is on a different machine, pass its address with-BackendUrl. - HTTPS. In IIS Manager, under Site → Bindings, add a valid certificate and a secure binding, and set up the http-to-https redirect there as well.
- Verify the installation. The service should be Running; the site should open and let you log in; and the browser console (F12) should show no WebSocket connection error. In the server console, the Overview tab should show RUNNING.
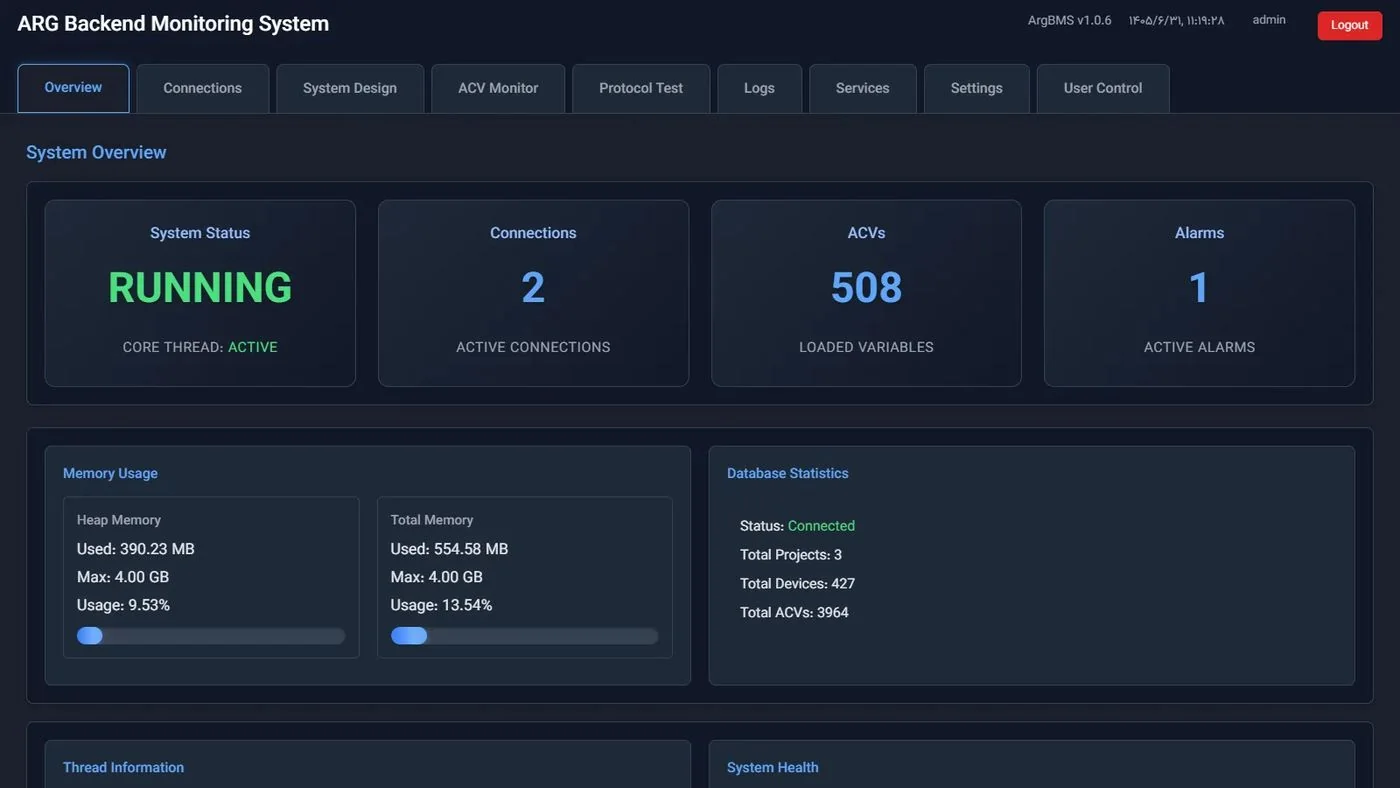
Verifying the install · System Status equals RUNNING and the database connection is Connected
Linux and Docker
- Linux (systemd): the Linux deployment script, run as root, creates a dedicated service user and a systemd service, and prepares the
logs,data,uploads,maps, andconfigfolders. Edit the production settings file (the database password is read from theDB_PASSWORDenvironment variable), place the license file yourself next to the application file, and start and enable the service. The service is created with systemd security restrictions and automatic restart on failure. - Docker: set the
POSTGRES_PASSWORDvariable before running; Compose will not start without it. Two services come up: PostgreSQL and the server; data (the database, logs, uploaded files, maps, and settings) live in separate volumes, and the app runs as a non-root user. The web app is not part of Compose and is deployed separately behind a web gateway. The license file is not inside the image; coordinate how to place it in the container with the ARG deployment team.
Key settings in the production file
| Setting | Purpose |
|---|---|
spring.datasource.url, username, password | Database connection |
argbms.websocket.allowed-origins | The site's public address; without it, live data behind IIS is rejected |
server.servlet.session.cookie.secure | Must be true on an https site |
argbms.media.upload-dir, maps.storage.path | Where uploaded files and maps are stored (needed for backups) |
spring.jpa.hibernate.ddl-auto | After the first successful run, you can change this from update to validate so the database structure no longer changes automatically |
The service only runs with an external settings file; every setting the server needs must be in that same file. Other operational settings (the Security, Logging, Backup, Queue, and other categories) are viewed and changed after installation from the server console's Settings tab (lesson C4).
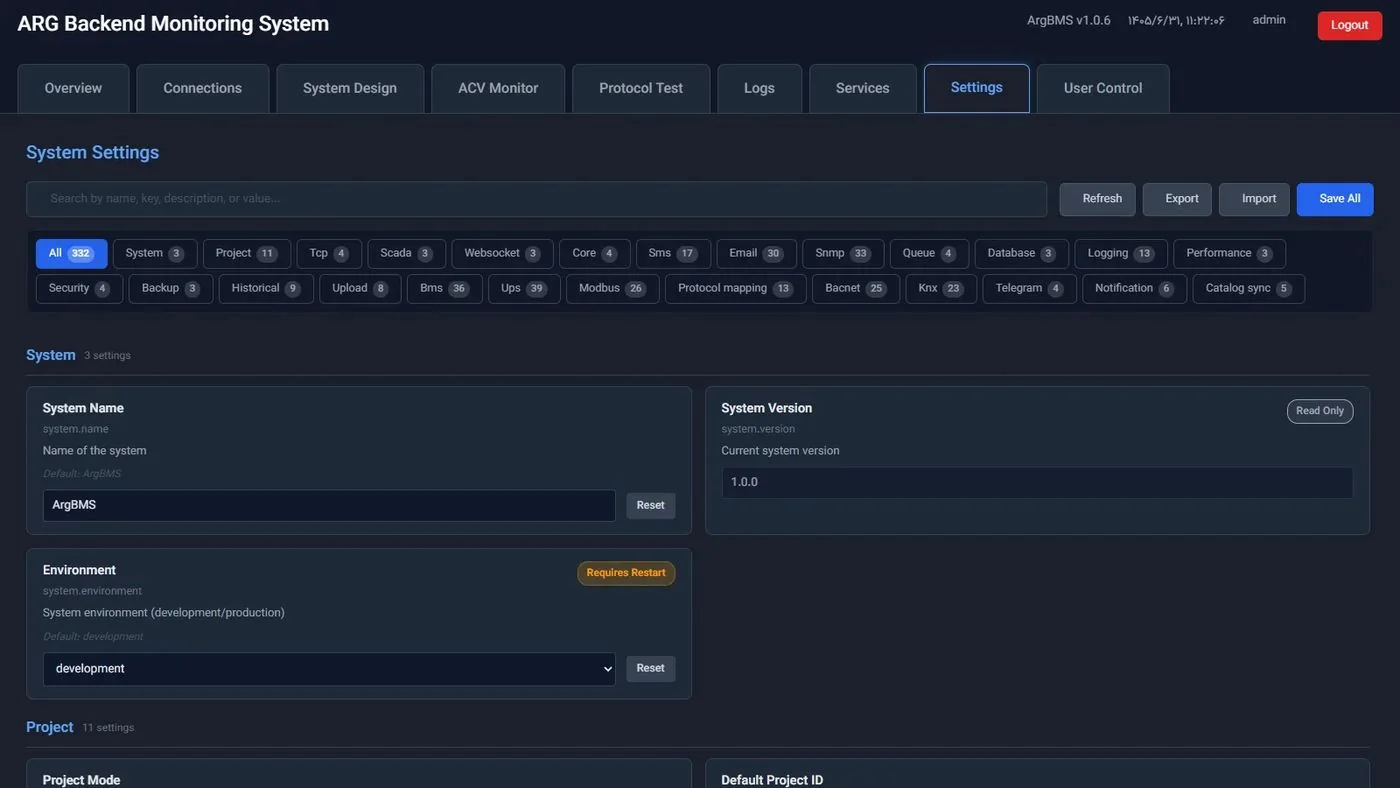
Step by step: initial setup after installation
- Log into the console. Open the console address and log in with the admin account. On the very first startup, if no system user exists yet, the Users sub-tab shows the System Setup - Create Administrator Account window; coordinate initial console access with the ARG deployment team.
- Create the project. Under «System Design» ← «Projects» (System Design → Projects), click + Add Project and create the project.
- The Master key. In API Key Management, make sure the project has an active key at the Master (Full Access) level; if not, generate one with Generate New Key. Without an active key, web logins are rejected with "API key not found for project".
- The administrator account. In the admin-creation window, fill in First Name *, Last Name *, Username *, Password *, and Confirm Password *, and click Create Administrator Account.
- Finish in the web app. Log into the web app with this same account and complete the general configuration from «تنظیمات» ← «تنظیمات پروژه» (Settings → Project Settings) (lesson C3).
Tips and common mistakes
- A 500.19 error on every page means URL Rewrite is not installed; a 404 on API requests means proxying is off in ARR; a 502.3 means the server is not up.
- The page opens but no live values arrive: check the WebSocket feature in IIS and that the allowed-origins address exactly matches the browser's address, and restart the service.
- Console login does not persist: on an http site, the secure cookie setting must be off.
- A service created with Windows' built-in java service wrapper stops after about 30 seconds; build the service with NSSM instead.
- Do not edit the license file; any change invalidates it. Log the expiration date in your maintenance calendar, since expiry takes effect on the next restart (for example, after a Windows update).
- Web app build settings (such as the product profile) are fixed at build time; changing them requires a new build.
Summary
- Java 17+, PostgreSQL, a license file, and (on Windows) IIS with URL Rewrite, ARR, and WebSocket.
- The site's public address must exactly match one of the allowed WebSocket origins.
- An invalid license means the server shuts down completely at startup.
- After installation: project → Master key → administrator account → project settings.
Hands-on exercise on the live demo
Installation cannot be done on the public demo; this exercise is observational and on paper. Do not change anything on the demo (bms.argsrv.com, project "ARG Holding").
- Log into the demo and note the interface's version number at the bottom of the page.
- Open «تنظیمات» ← «تنظیمات پروژه» ← «اتصال سرور» (Settings → Project Settings → Server Connection) and see which connection information is kept in the browser.
- Open the browser console (F12) and confirm there is no WebSocket connection error — the same check you would run right after a real installation.
- For a hypothetical Windows server, write down the prerequisites list and the public-address parameter value (for example,
https://twin.example.com), and write the five initial-setup steps from memory.
Lesson check
Answer at least 3 of 4 correctly to pass.
- 1. If the license file is missing or expired, what does the server do?
- 2. Why does the Windows installer ask for the site's public address?
- 3. Which database engine is used in the production scripts?
- 4. After creating a project, users cannot log into the web app. What is the most likely cause?