Access Keys and Access Levels
For every integration (gateway, script, another system), create a project key with the lowest level needed, assign or remove it from a project, deactivate it if leaked, and know exactly what the server permits at each level.
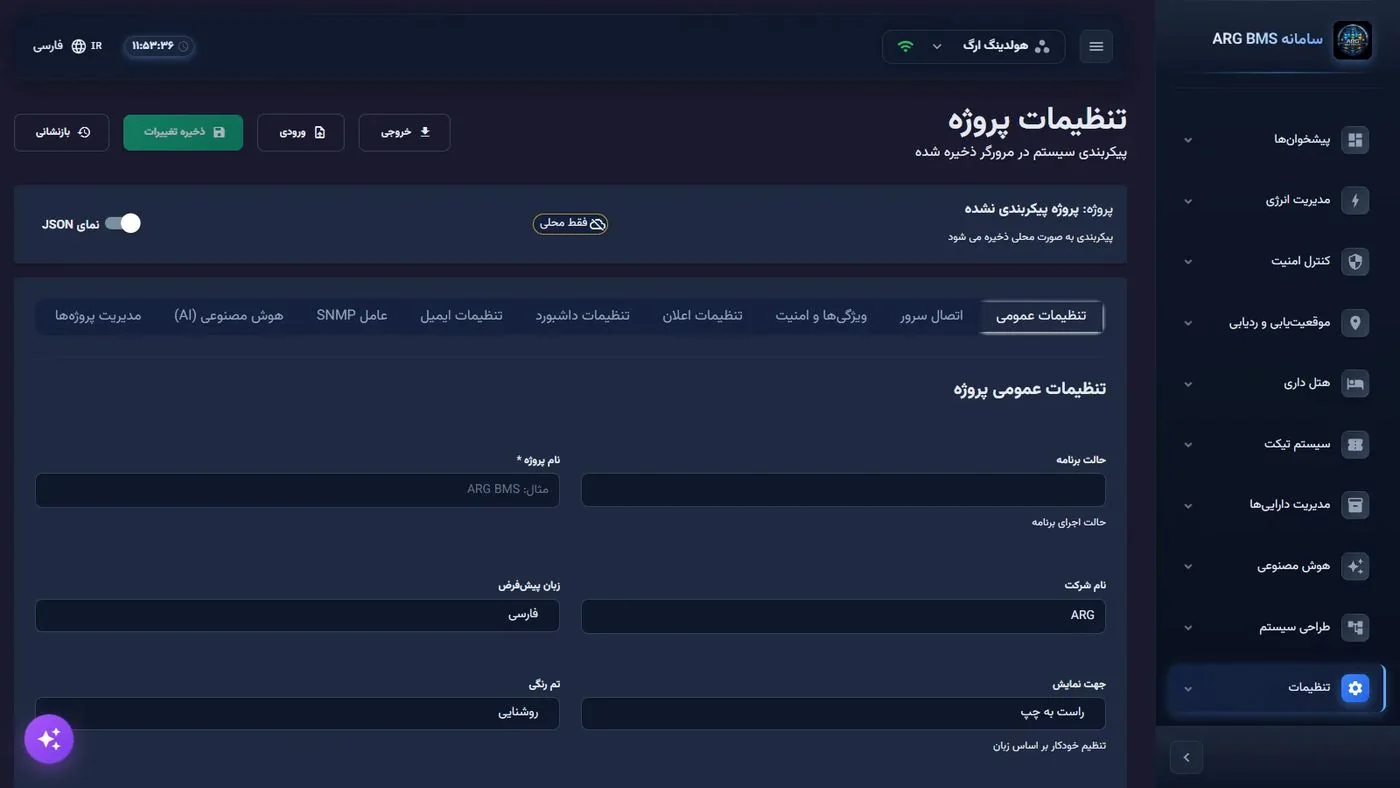
کنسول مدیریت سرور: «System Design» ← «Projects» ← بخش «API Key Management»؛ در برنامهٔ وب: «تنظیمات» ← «تنظیمات پروژه» ← زبانهٔ «اتصال سرور» — کنسول مدیریت سرور: «System Design» ← «Projects» ← بخش «API Key Management»؛ در برنامهٔ وب: «تنظیمات» ← «تنظیمات پروژه» ← زبانهٔ «اتصال سرور» — کنسول مدیریت سرور: «System Design» ← «Projects» ← بخش «API Key Management»؛ در برنامهٔ وب: «تنظیمات» ← «تنظیمات پروژه» ← زبانهٔ «اتصال سرور» — Server management console: System Design → Projects → API Key Management; in the web app: Settings → Project Settings → Server Connection tab
Every request to the digital twin server carries a "project key". That key's level is what the server uses to decide whether a request may only read, may write, or may command equipment. Web users receive a project key automatically after login; but every external device or system must have its own separate key. Keys are managed from the server management console, whose labels are in English.
Get to know the screen
| Section | What you see |
|---|---|
| Cards | Total Keys, Active Keys, Expired Keys; the Generate New Key and Refresh buttons |
| The All API Keys table | Columns ID, Key Name, Key Value (masked), Status, Assigned To, Created, and Actions, with Assign and Deactivate buttons |
| The Keys by Project section | A Select Project: list and a table of the project's keys with Access Level and Last Used columns and a Remove button |
| The web app, اتصال سرور (Server Connection) tab | کد پروژه * (Project Code *), کلید API * (API Key *) (masked), آدرس سرور API * (API Server Address *), آدرس WebSocket * (WebSocket Address *), and تست اتصال (Test Connection) |
Levels and what the server actually allows
| Console level | Read | Write (create/edit) | Equipment command | Devices API (gateway) | Admin operations |
|---|---|---|---|---|---|
Master (Full Access) | Yes | Yes | Yes | Yes | Yes |
System (Read/Write/Manage) | Yes | Yes | Yes | Yes | No |
User Level 1 (Read/Write) | Yes | Yes | Yes | No | No |
User Level 2 (Read Only) | Yes | Yes | No | No | No |
User Level 3 (Limited Read) | Yes | No | No | No | No |
User Level 3.A project key is not the same as a user account
A user account is for a person and works with a username and password; a project key is for a machine and rides along with every request. A logged-in user also works with a project key behind the scenes, but never sees that key and cannot change its level. So if a gateway, script, or wall display needs to connect to the system, do not create a user account for it; create a separate key with the lowest level that works. Conversely, do not create a key for a new colleague; they need a user account and a role (lesson C1).
Step by step
- Generate a new key. In the server console, go to «System Design» ← «Projects» (System Design → Projects) and scroll to the API Key Management section. Click Generate New Key. Write a descriptive Key Name * (for example, "Building B gateway — read"); Description is optional. For temporary keys, always set an Expiration Date (Optional); leaving it blank means no expiry.
- Set the project and level. Under Assign to Project (Optional) pick the project, which reveals Access Level *; choose the lowest level that gets the job done (User Level 1 is the default). Then click Generate Key.
- Keep the key safe. In the Key Generated Successfully! box, click Copy and immediately store the value in the organization's password manager. In any document, write the key only as "XXXX…".
- Assign an existing key to another project. In the All API Keys table, click Assign, choose Project * and Access Level *, and click Assign to Project. If that key is already assigned to the same project, the server returns an error.
- Remove a key from a project. In Keys by Project select the project and click Remove on the key's row. The key keeps working for other projects.
- Take a leaked key out of service. In All API Keys click Deactivate and accept the confirmation; the key stops working for every project. Immediately generate a replacement key and swap it into the device or integrated system.
- Test the browser's connection. In the web app, open «تنظیمات» ← «تنظیمات پروژه» ← «اتصال سرور» (Settings → Project Settings → Server Connection) and click تست اتصال. If a field is empty, the message "Please fill in all required fields" appears; on failure, "Connection test failed".
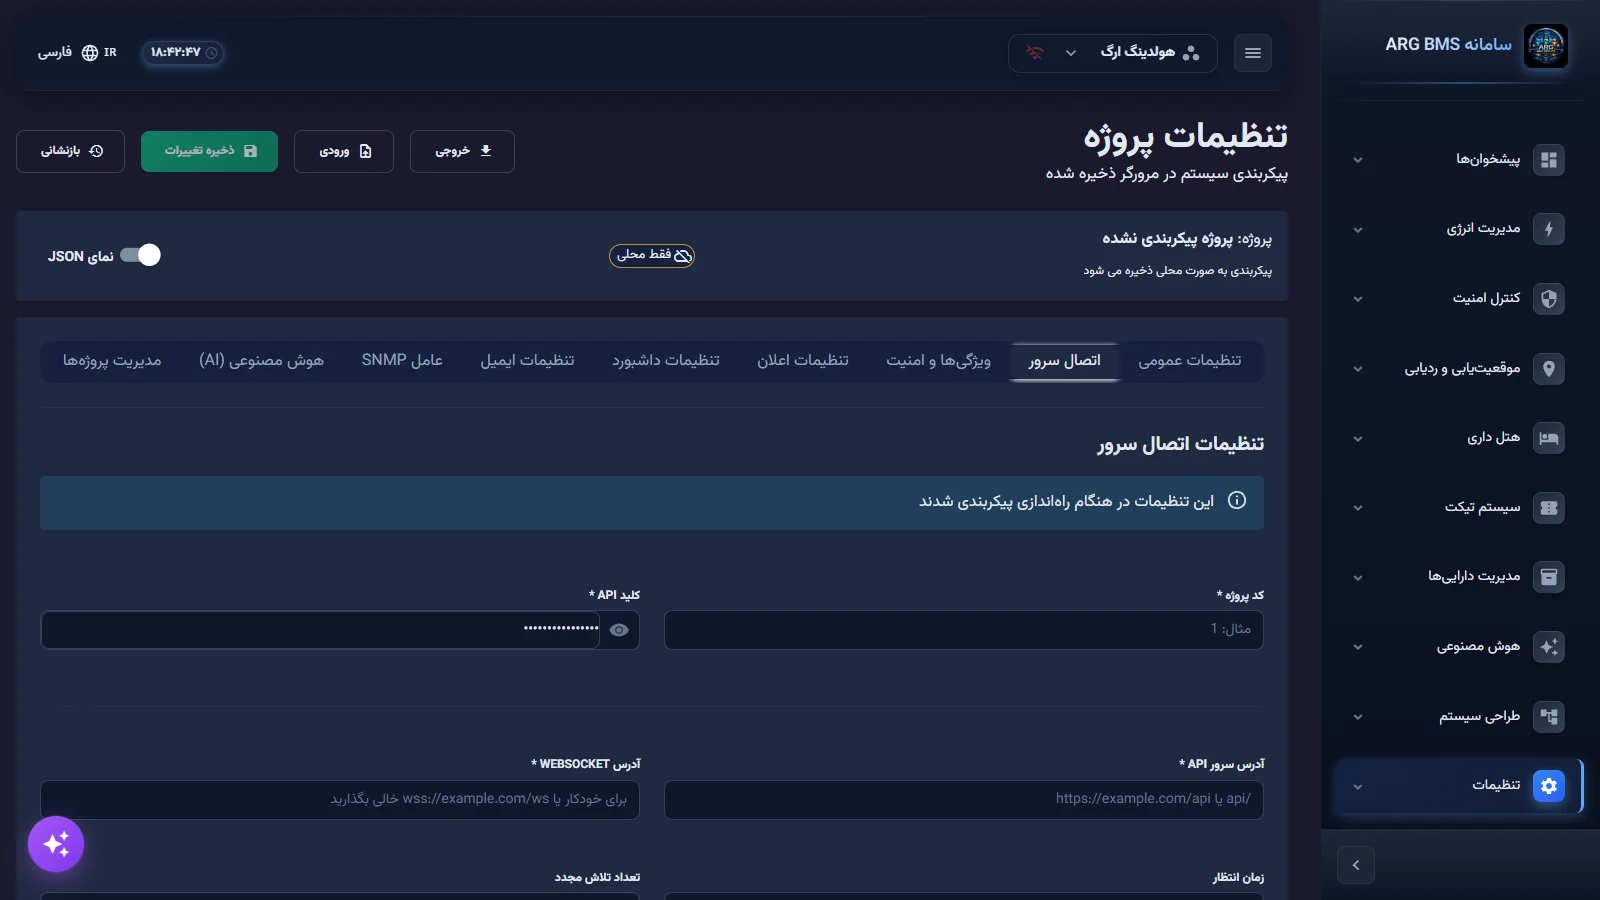
Server Connection · the API key is masked; a Test Connection button and the API and WebSocket result
Key rotation routine
Manage keys like passwords: keep a list of active keys, each key's owner (which device or system), its level, and its expiration date. To rotate without downtime, first generate a new key and assign it to the same project at the same level, then swap it into the consumer, confirm the new key works using the Last Used column, and only then Deactivate the old key. If a key has been leaked, reverse the order: Deactivate first, then replace.
Tips and common mistakes
- Generate a separate key for every consumer, so a leak only requires deactivating that one key.
- Do not hand a project's Master key to an external device or system; it is the same key web users work with. If you deactivate it and no other active key remains for the project, user logins are rejected with the message "No active API key found".
- Deactivate affects every project the key is assigned to; to disconnect from just one project, click Remove instead.
- An expired key stops working immediately; generate a replacement before the expiration date and log it in your maintenance calendar.
- The full key value can also be copied from the table; grant access to the server console only to trusted administrators.
- Never put a key in an email, a chat message, a ticket, a screenshot, or a code repository.
Summary
- The project key's level is the real access enforcement on the server.
- Genuinely read-only = User Level 3; a data gateway = System.
- Remove disconnects from one project; Deactivate disables the key everywhere.
- Copy a key once and keep it in a password manager; set an expiration for temporary keys.
Hands-on exercise on the live demo
The server console is not available to the public on the demo; do this exercise in the demo web app (bms.argsrv.com, project "ARG Holding") and on paper. Do not change or save any value.
- Open «تنظیمات» ← «تنظیمات پروژه» ← «اتصال سرور» and note that کلید API * is masked. Do not reveal or send it to anyone. Click تست اتصال and note the API and WebSocket result.
- For three scenarios, write down the right level and your reasoning: (a) a display-only wall screen, (b) a field gateway that sends point values, (c) a reporting script that records assets.
- Compare your answer against the levels table (suggested answer: User Level 3, System, User Level 1).
Lesson check
Answer at least 3 of 4 correctly to pass.
- 1. Which level can command equipment but does not call the devices API?
- 2. For a key that genuinely cannot record any change, which level is correct?
- 3. What is the difference between Remove and Deactivate?
- 4. Which key is generated automatically when a new project is created?